The Hidden Cost of "High Quality" Images
We’ve all been there. You find the perfect image for your blog post or e-commerce store, it looks stunning, and you immediately upload it.
Fast forward a week, and you realize your webpage is taking four seconds to load. Visitors are bouncing, and your Google PageSpeed Insights score is flashing red. The culprit? That single 3MB image you uploaded.
In today’s digital landscape, speed is currency. If your website is slow, you lose attention, and ultimately, you lose conversions. But here is the good news: you don't have to sacrifice crisp, beautiful visuals for a fast-loading website.
Here is exactly how you can routinely squash massive images down to under 100KB while keeping them looking pixel-perfect to the human eye.
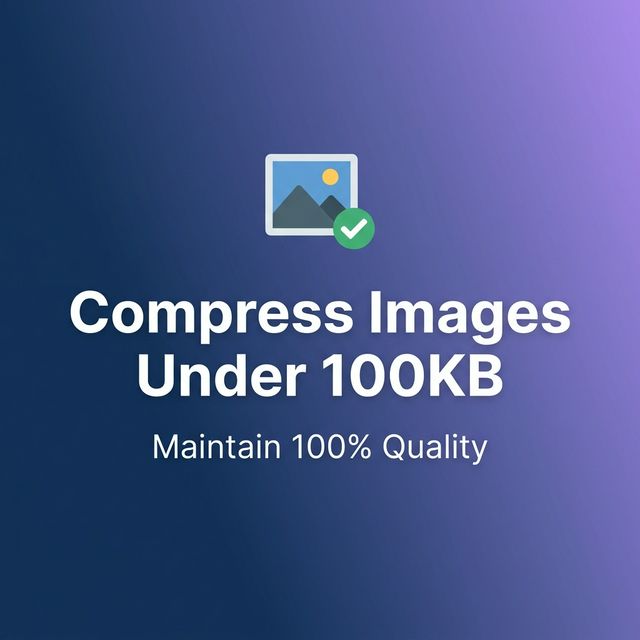
4 Steps to Squash Image Sizes (Without Ruining Quality)
Step 1: Stop Ignoring the Actual Dimensions
The biggest mistake most people make is trying to compress a 4K resolution image. If your blog's text column is only 800 pixels wide, uploading a 4000-pixel wide photo is completely useless. The browser still has to download the massive file just to visually shrink it on the screen.
The Fix: Before doing anything else, crop and resize your image to the maximum width it will actually be displayed at. Just doing this often drops a 3MB file down to 400KB.
Step 2: Ditch the Dinosaurs (Embrace Next-Gen Formats)
JPEG and PNG have served us well for decades, but they are heavy. Modern web standards have shifted.
If you want tiny file sizes, you need to use WebP. Created by Google, WebP maintains incredible visual fidelity while keeping the file size significantly smaller than a standard JPEG. For graphics with transparent backgrounds, WebP is also vastly superior to PNG in terms of weight.
Step 3: The 80% Rule of Compression
Not all compression ruins your photos. There is a "sweet spot" where the file size drops dramatically, but the human eye cannot detect the difference in quality.
When running an image through a compressor, aim for 75% to 80% quality. This strips out redundant color data that our eyes physically can't process anyway, melting the file size down to that coveted sub-100KB range.
Step 4: Strip the Invisible Weight
Did you know that every photo you take with a phone or camera contains hidden text data? It’s called EXIF data. It stores the camera model, exposure settings, date, and even exact GPS coordinates. Not only is this a privacy risk when uploading online, but it also adds completely useless weight to your file. Stripping this metadata is a free way to save space.
How to Automate This Workflow
Historically, doing this properly meant a broken workflow: opening Photoshop to resize, going to a random website to convert to WebP, and using another site to compress it.
I actually got so frustrated with juggling multiple tabs just to upload a blog header that I integrated an automated pipeline directly into CyberCraft Studio. We built it so you can resize, convert to WebP, strip EXIF data, and hit that perfect compression sweet spot—all in a single click, completely privately in your browser.
The 5-Second Workflow with CyberCraft Studio:

Drop & Snap: Simply drag your original image into the CyberCraft Studio canvas.
Preset Magic: Select the 'Web Optimized' preset. It automatically handles the heavy lifting—resizing to web dimensions, converting to WebP, and stripping EXIF data in one go.
Perfect Result: Click download, and you’ve got a pixel-perfect, sub-100KB image ready for your site. No plugins, no extra tabs, and no loss in quality.
Whether you use our Image Studio or do it manually step-by-step, make this workflow a habit. Your servers, your users, and your SEO rankings will thank you.